Some words about the files your camera makes and why asking it to make raw files instead of JPEG is worthwhile.
When making a JPEG file, the camera produces the JPEG (8 bits) from the raw sensor data (12 or 14 bits) and throws away the left over data. 8 bits is 256 levels. 12 bits is 8,192 levels and 14 bits is 16,384 levels. Older Canon and Nikon models provide 12 bits, newer ones provide 14 bit files.
If you shoot in JPEG mode, you have to pay attention to white balance because if you get it wrong, there is not always enough information in the file to correct it later. You can nudge it a little but can not make a major change. With a raw file, in the computer, you can select any white balance the camera could have offered, so you can refine your choice while looking at the image on a large monitor.
Exposure is similar. You can brighten or darken a bit with a JPEG. With a raw file, you can usually go 3 or 4 stops.
The images on this page are edited, and reduced in size as nothing would be gained from having the full size images and they take up space.
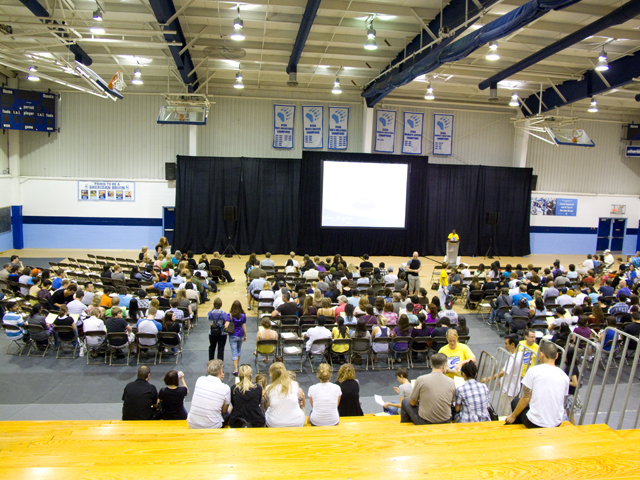
This was taken by my wife, using her Canon G11. The little point & shoot can produce really good results with little fuss. It can save raw files. The image below was converted from a raw file using the camera settings. It is what you would get if the camera made a JPEG. Notice the movie screen in the default settings image is white. If you open the JPEG with Photoshop, and work really hard, you will be able to get some blue blobs onto the screen, the top half is completely gone.
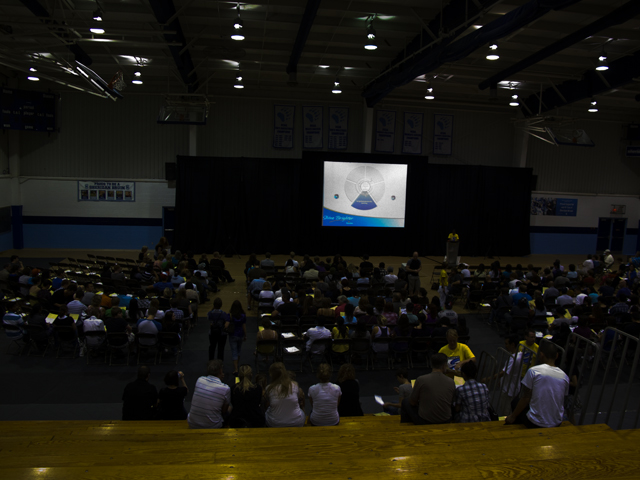
Here is the image from the raw file, 4 stops down using exposure, and slightly darker using the brightness control:
Now the files can be combined to get this:
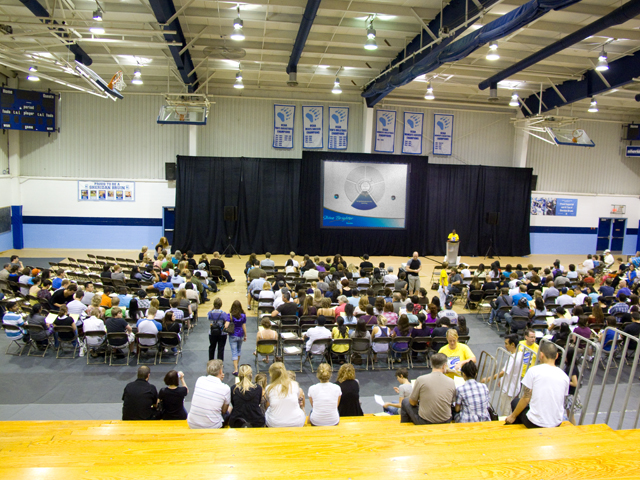
Pretty cool party trick! Of course, this is a great raw file to work with, straight replacement of something with nice straight lines, no shading nuances to deal with, but I did this with Photoshop Elements 8 in just a few minutes. Camera Raw in Photoshop CS5 has a lot more power and CS5 can do a lot more than Elements, or at least can do it more easily, when merging layers.
Here is a different example which illustrates how much data is in a raw file.
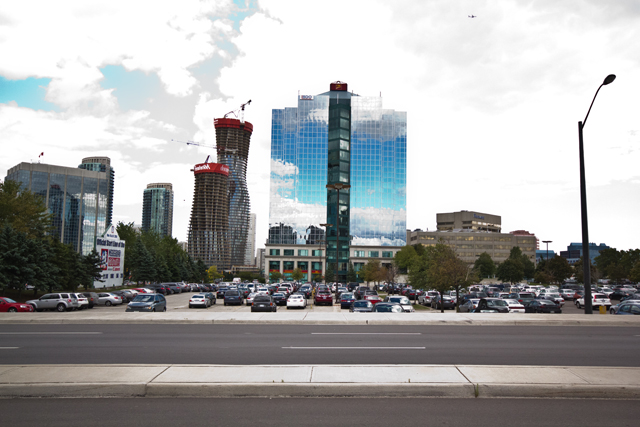
Consider this image, converted to JPEG using the camera settings, which were not properly set when the image was taken. Compare it to the last image which was taken after the camera was adjusted for conditions. If you only had this first image and it was a JPEG you would not show it to anyone and would probably just delete it.

But, if you had the camera save it as a raw file, you could get a pretty good looking black & white image from it.
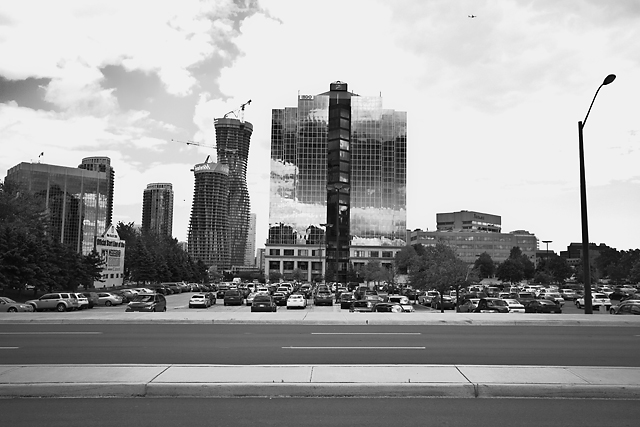
You could still get a colour image, although I think some work still is required. The sky is posterized and the colour is still not quite right but if it were all you had, it would be much more presentable than the JPEG the camera would give you.
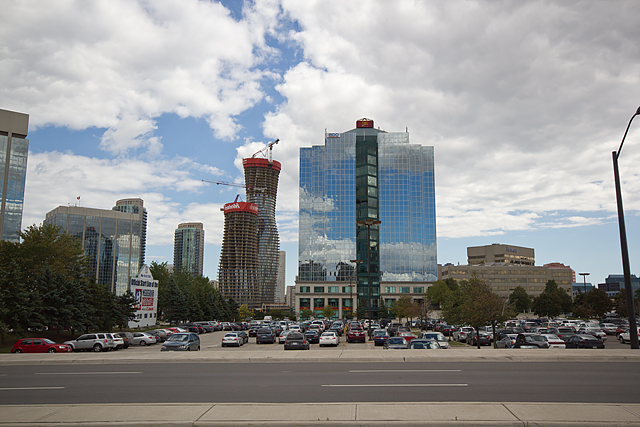
Of course if you noticed in time, you could just shoot another picture, since it is just a cityscape. The plane is gone and the view is slightly turned to the north but otherwise it is the same view. This image was properly exposed just half a minute after the previous image was messed up. Oh, the buildings are in Mississauga, across from Square One, and the sides are curved.
With a JPEG there is so little data available that if anything goes wrong, the picture is in trouble. With raw, you may still not get a masterpiece, but you have a fighting chance to get an acceptable photo.